
WordPress site speed plays a huge role in technical SEO. There are multiple ways a user can optimize the speed of a website. You can use a plugin, optimize images or remove old and unused code. However, it’s not always easy to identify the reason for a slow website. You can use a tool or WordPress plugin before making any changes.
The most popular tool is Google’s page speed insights. It highlights the speed score for desktop and mobile devices. As a web developer, you can speed up a website using advanced techniques. Do you want to learn how? Here’s what we shall cover in this guide:
- Optimal WordPress Settings
- The Importance of Cache
- Image Optimization Essentials
Let’s get down to business!
Ideal Settings for WordPress
We will discuss the ideal settings for WordPress. Here are a few tweaks you can apply to help your WordPress site load faster. Although most of these are minor adjustments, they all help!
Set Another Login URL for Your WordPress Site

The login URL for your WordPress site is domain.com/wp-admin/ by default. One issue is that all hackers, bots, and scripts are aware of this. You can improve your protection against brute-force assaults, make yourself less of a target, and reduce the bandwidth consumed by bots by altering the URL.
It’s also a good idea to change your WordPress login URL to avoid problems like “429 Too Many Requests.” But, again, this isn’t a one-size-fits-all answer; it’s just a straightforward technique that can help secure you while also reducing the burden on that page.
Use one of the recommended plugins to modify your WordPress login URL:
- WPS Hide Login: Completely free
- Perfmatters: Premium, but with additional performance optimization options
Updates for Plugins and Themes Should Be Disabled or Modified
The data center location, network, and even PHP versions can affect how quickly WordPress admin dashboards load. The WordPress update checker, which runs in the background, is another issue that few users are aware of. Additionally, having a large amount of WordPress plugins and themes can be detrimental in this situation.
The issue is that behind the scenes, the built-in WordPress update checker does an external GET query. This can happen occasionally or extremely often and can slow down your admin dashboard if it happens too frequently.
This is more of an issue with the way WordPress’s update checker is designed. If your WordPress admin panel is taking too long to load, try turning off automatic updates. Only do this if you manually check for updates, since many upgrades include bug and security fixes.
We suggest installing one of the following plugins to deactivate updates:
- Disable All WordPress Updates: Completely free with no options for configuration. But, it does exactly what it claims.
- Easy Updates Manager: Gives you more control over which updates you get. The core version is available for free.
Set a calendar reminder to deactivate the plugin once per week, look for updates, and reactivate it.
Deactivate Pingbacks
Whenever another blog links to you, a pingback is generated automatically. In addition, self-pingbacks are made when you link to an article on your blog.
We advise simply deactivating these, as they produce unnecessary inquiries and spam on your website. Also, remember that the fewer calls your WordPress site makes, the better. This rings true, especially on high-traffic sites. Not to add the fact that getting a pingback on your site is a pain. To disable pingbacks, follow the steps below.
Step 1: Restrict Pingbacks From Other Websites
Go to “Settings / Discussion” in your WordPress dashboard. Uncheck “Allow link notifications from other blogs (pingbacks and trackbacks) on new articles” under the Discussion Settings options.
Step 2: Deactivate Self-Pingbacks
You have a few alternatives when it comes to limiting self-pingbacks. First, you can use the No Self Pings plugin, which is available for free. You can also use a paid plugin such as Perfmatters.
Another option is to stop self-pingbacks by editing the code in the functions.php file of your WordPress theme. Warning: If you don’t do it right, altering the source code of a WordPress theme can crash your site.
Limit the Number of Posts in Your Blog Feed
Whether your blog feed is your homepage or a separate page on your site, you wouldn’t want or need 50 thumbnails to load simultaneously. The homepage is the most crucial page of your site, and you want it to load quickly, especially if it has high traffic. When it comes to speed, having fewer requests and media files, the better.
Moreover, pagination was created for this very reason. Pagination is the feature that allows you to navigate to the next page of a blog feed. These are usually numbers, although they could also be “next/previous” buttons. Customized pagination is almost certainly already included in your WordPress theme.
The default limit for new WordPress installations is 10, but we’ve seen it modified so many times that we’ve lost track. As a result, double-check the value you’re working with. We suggest a range of 8 to 12 posts per page. This option may be found in the “Settings / Reading” section of your WordPress admin panel. The value of “Blog pages show at most” can then be modified.
The Importance of Cache
Caching is without a doubt one of the most helpful and straightforward strategies to make WordPress run faster. However, before we explain how to use caching, you must first learn how it works and become familiar with the many available caching types.
How Does Caching Work?
Every page viewed on your WordPress site involves a request to the server, which is then processed (including database queries) and returned from the server to the user’s browser. The outcome is your website, including all the files and components that provide its appearance.
You may have a header, graphics, a menu, and a blog, for example. Because the server must handle all of those queries, delivering the entire page to the user takes longer, especially for cumbersome or heavier sites.
That’s when a caching plugin for WordPress makes a big difference! Depending on the setup, caching directs the server to save some files in the storage or RAM. As a result, it can recall and replicate the same information it has previously served.
In other words, it minimizes the amount of effort necessary to produce a page view. As such, your web pages will load considerably more quickly because they will be served directly from the cache.
Here are the other advantages of caching:
- Your server is more resource-efficient: This is related to speed because using fewer resources is faster for your site. Additionally, it also reduces the load on your server. When it comes to highly dynamic websites (like membership sites), knowing what you can and can’t serve from cache is crucial.
- This will decrease TTFB: One of the simplest ways to reduce your TTFB is to cache. Caching can lower TTFB by as much as 90%!
Types of Caching
There are two main methods of caching: server-level caching and plugin-based caching.
Server-Level Caching
Server-level caching is perhaps the most user-friendly solution since your WordPress hosting provider will take care of it. Server-level caching can be categorized, but aren’t limited to the following:
- Bytecode cache
- CDN cache
- Object cache
- Page cache
You won’t have to deal with any complex or perplexing caching plugins using server caching. This allows you to work on other productive activities.
With regular WordPress, the page cache is set up to operate right away. You don’t need to do anything; page caching will instantly begin once you open your WordPress site.
Caching is disabled by default for pages like my-account, cart, and checkout, which should never be cached. When the woocommerce_items_in_cart cookie or add_items_in_cart cookie are identified, the cache is automatically bypassed to provide an in-sync and quick checkout experience.
With the admin toolbar, you can clear the cache of your WordPress site at any moment.
Plugin-Based Caching
You can install a third-party WordPress caching plugin if your hosting provider does not provide caching.
We suggest the following options:
- WP Rocket (paid)
- Cache Enabler (free)
- W3 Total Cache (free)
Difference Between Caching and No Caching
How much of a difference does caching make? The two approaches are compared below.
No Caching
After running five Pingdom tests, the page size was 230.6kb with an average load time of 507 ms.
It’s also worth noting the difference between TTFB with and without caching. The “waiting” bar in Pingdom represents TTFB. Without caching, the TTFB is 192 ms.
With Caching
After running five Pingdom tests with server caching enabled, the page size was 230.6kb with an average load time of 351 ms. This translates to a 33.77% faster page load time. That’s without doing any additional work.
With caching enabled, the TTFB now takes less than 35 ms.
Caching Troubles With Membership Sites
There are plenty of uncacheable pages and types of content on membership sites, and they’re constantly changing. Usual culprits and pain points include community member login pages (which may frequently be hit depending on the site’s size), discussion boards, and digital products’ checkout pages which generally can’t be cached.
But it doesn’t stop there. The admin dashboard on regular WordPress sites isn’t cached for users that are logged in, either. When you don’t have many admins and authors, this is okay, but when you have hundreds of people accessing the dashboard, performance concerns arise because none of it can be served via the server’s cache. This requires the necessary power and infrastructure that most shared hosting services often lack.
Caching for Highly Dynamic Sites
Standard caching settings are often insufficient for highly dynamic WordPress sites because they don’t make the most of the technology. Object caching is helpful in this situation.
The database query results are saved in the object cache so that every time the data is needed, it can be provided via cache instead of searching the database all over again. This decreases the burden on your database while also speeding up PHP execution. This will come in handy for membership sites! Object caching can be done in various ways with WordPress:
Examining Cache
The WordPress site header may have a different label depending on your caching solution or hosting provider. A value is assigned to the header whenever a request is performed from your WordPress sites, such as HIT, MISS, BYPASS, or EXPIRED. This helps in monitoring the performance of your cache. Improving the cache hit ratio of your WordPress site is critical since you want the cache to serve as much of your site as possible.

Image Optimization Essentials
Another simple thing you can do to improve your average page load speed is to optimize your images. This isn’t an optional step; every website should take it!
Large graphics slow down your website, resulting in a less-than-ideal user experience. Image optimization is the process of reducing the size of an image’s file using a script or plugin, which improves the page’s loading speed. Two frequently used compression methods are lossless and lossy compression.
In 2019, the HTTP Archive reported that graphics account for about 34% of a whole web page’s size. So, photos should be your first priority compared to videos, which are far trickier to optimize! It takes precedence over CSS, JavaScript, and fonts. Even though a proper image optimization process is one of the simplest things to do, many site owners still miss it.
Average Bytes (KB) Per Page
In December 2017, images accounted for an average of 54% of a page’s overall size. As a result, it looks like image optimization has been improved by the internet as a whole! However, 34% is a substantial number that should not be overlooked. Even if your website doesn’t have any video content, photos are likely to be your main page size issue.
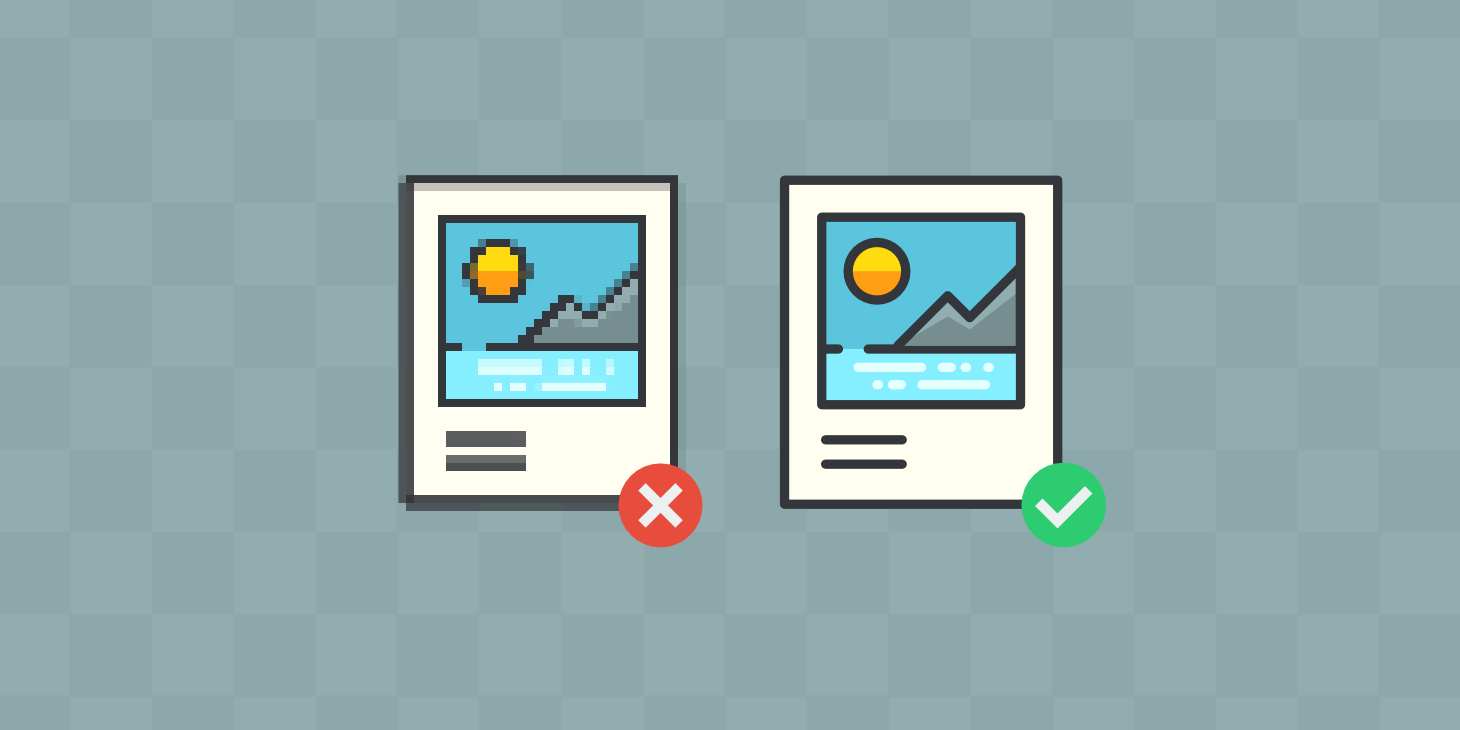
Striking a Balance Between Quality and File Size
Striking a balance between small file size and adequate quality is the primary purpose of image formatting. Most of these optimizations can be done in several different ways. Compressing them before publishing on WordPress is among the most fundamental techniques. This is usually done in a program like Affinity Photo, Adobe Photoshop, or Google’s new online Squoosh app. These processes can, however, be completed automatically via plugins.
The compression type and file format are the two most important factors to consider. You can minimize the size of your image by up to five times by using the appropriate mix of compression type and file format. To figure out which file format or image works best, you’ll need to test out each one of them.
Make sure you’ve picked the most suitable file format for your images before you begin editing them.
You can utilize the following file types:
- JPEG: You can modify the quality level to get a reasonable balance between file size and quality. It can be optimized in both lossy and lossless ways.
- PNG: Images are of higher quality, but the file size is larger than JPEG. Although it was developed as a lossless format, it can also be lossy.
JPEG is best for photos with many colors, whereas PNG is best for basic images.
When it comes to animated GIFs, they’re often entertaining, but they wreak havoc on site performance. Many GIFs are more than 1 MB. As such, these should be saved for social media. Take a look at how to compress animated GIFs if you have one that you really must include in your blog article.
Compression Quality vs. Size
What happens when you compress an image?
- The best quality can be achieved by using a very low compression rate. However, this means that the file will be heavier.
- When you employ an extremely high compression rate, the image quality suffers, but the file size is smaller.
What you want to accomplish is striking a balance between file size and compression rate (quality). When choosing photos for your WordPress site, keep in mind that it’s better if you can keep the entire weight of each page under 1 or 2 MB. To achieve maximum performance, limit most of your images to 100 KB.
Lossy vs. Lossless Optimization
It’s also crucial to understand the difference between lossy and lossless compression.
Lossy compression reduces the size of your image by removing some of the data. As a result, you may notice a drop in quality, or what some describe as pixelation. For this reason, you need to be mindful about how much your image is reduced. Not only because of quality issues but also because the process is irreversible. Nevertheless, one of the most significant advantages of lossy compression, and one of the reasons it’s so common is that it can substantially decrease file size.
Unlike lossy compression, lossless compression maintains the image quality. It’s frequently achieved by deleting unneeded metadata, which is automatically provided by the gadget that captures the image. The major disadvantage of this strategy is that it does not result in a substantial decrease in file size. To put it another way, it will consume a lot of storage space in the long run.
You’ll want to try out different things to see what’s best suited for you. However, we suggest lossy compression for most users because you can effectively compress an image by more than 70% without losing much quality. When you multiply this by the number of photos on a page, you’ll see a considerable reduction in the time it takes for your site to load.
Plugins for Image Compression

The good news is that you can automate this task with several fantastic WordPress plugins for image compression. We suggest the following plugins:
All these plugins provide lossy and lossless optimization, which they can do externally.
When it comes to image optimization plugins, the most crucial thing to look for is compressing and optimizing images on their servers externally. As a result, your site’s load is reduced.
How much faster would image compression make your WordPress site? It depends on how heavy your initial images were compared to how they are now after compression. Nevertheless, speed tests show that a suitable image compression method can reduce page load times by more than 80%!
Lazy Loading
You might want to consider lazy loading your images if there are plenty of them. This optimization strategy speeds up the loading of visible content while delaying the rendering and downloading of content underneath the fold.
Extra Pointers for Image Optimization
Here are a few more image optimization pointers to remember.
- The era of only uploading images that fit within the column or DIV’s width has passed. Responsive graphics are built-in to WordPress (from version 4.4), and mobile versions display lower image sizes.
- SVGs are another fantastic alternative for images. SVGs are typically (but not always) much less in file size.
- Instead of putting text in photos, use icon fonts to scale better and take up less space. You can even optimize them further if you utilize a font generator.
- You might also want to explore WebP. It’s Google’s new image format that is swiftly garnering favor.
Final Thoughts
And there you have it! It’s your turn to use the above techniques to improve the experience of users on your website. Of course, you do not want Google to penalize you for having a slow website. Implementing these techniques increases your chances of ranking higher on search results pages and attracting clients to your website.
How can we be of help to you? Feel free to reach out to us. Contact us or send a proposal requesting a service.


