
Are you considering building a website yet trying to figure out where to start? Web design can be complex and a little intimidating if you don’t have the right know-how.
The good news is that taking it one step at a time makes everything more manageable. To help guide your process and ensure smooth sailing, let’s explore the seven phases of web design – from goal & scope identification through launch.
By breaking down these key steps into smaller tasks, you’ll get an idea of what’s involved in generating the perfect website for your business or project!
Phase 1: Goal & Scope Identification
Just like anything else, your website should have a goal. Think of it as the north star that helps you stay on track with your web design project. For instance, if you’re building a website for selling items online, your goal is likely to facilitate and generate sales.
Once you’ve established the main purpose of your website, it’s time to determine its scope. This includes outlining specific tasks that need to be completed to reach your goals (e.g., creating product pages or setting up shipping).
Ideally, you should give the web designer you’re working with a brief that has all this information. Go deep into the details, so nothing gets overlooked. Some elements you want to make sure you include in your scope identification are.
- Website type (e.g., informational, e-commerce, blog)
- Website purpose (e.g., branding, lead generation, customer service)
- Target audience & buyer persona
- Design style (e.g., minimalist, modern, playful)
- Technologies to be used (e.g., the CMS platform such as WordPress or Drupal)
- Content structure & information architecture (e.g., categories, number of pages, navigation design, etc.)
- Design guidelines (you could possibly share a style guide or brand book with the web designer)
- Functionality requirements (e.g., shopping cart, forms, member-only areas, and other features)
Of course, you’ll also need to document the budget, timeline, required resources, and any other crucial details during phase 1.
Phase 2: Onboarding
This phase is called onboarding because, during it, you essentially get the web design project “on board” – ready to get started! This is where you really align with the web designer and start getting things going.
In this phase, you’ll need to go through the preliminary setup activities related to design and development. For the most part, you won’t be the one who’s actually doing the work, but you’ll be in charge of getting all the pieces in place.
These activities typically involve:
- Buying a domain name (if needed)
- Setting up an account with a hosting provider
- Setting up a new email account for corresponding with you during development and beyond
- Any other activities your chosen website platform requires, like installing your CMS or e-commerce platform (or just purchasing a theme)
Your web designer will guide you through this process, but the more informed you are about what’s needed, the better.
Phase 3: Content Creation
Next, it’s time for content creation! Content is the lifeblood of any website, and it’s important that you get it right.
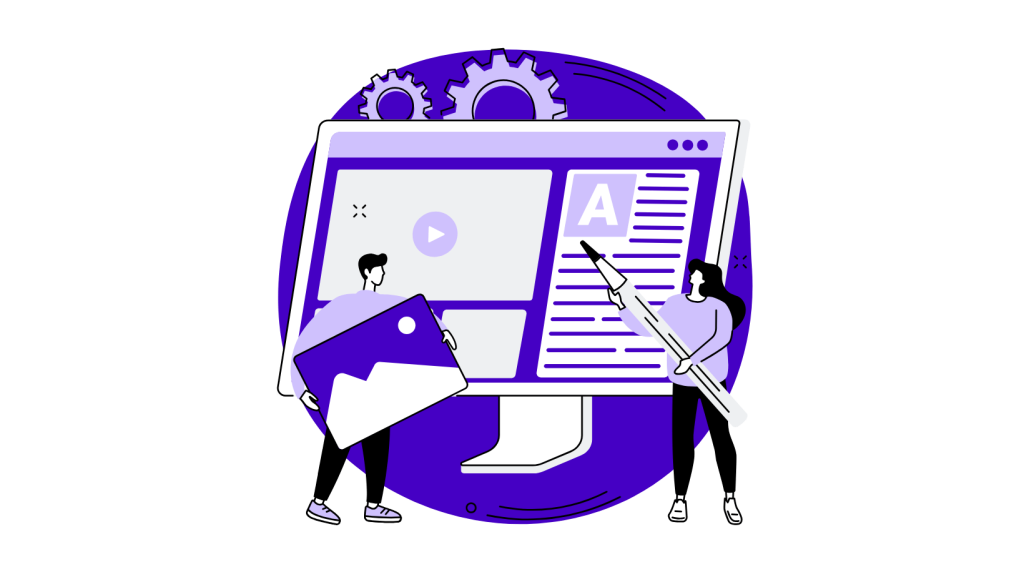
The type of content required depends on the purpose of your website, but there are some basic types most websites will require:
- Copywriting – Copywriting is the primary type of content on most websites. It’s usually written in a particular tone, tailored to your target audience and buyer persona. Copy should always be SEO-friendly, easy to understand, and internally consistent (e.g., if you use one term for something, stick with it). Most websites start with a homepage, about us page, services page, and contact us page.
- Content – If you plan to have a Blog page, you’ll need a steady stream of content. For starters, you may want to have 1 or 2 blog posts ready to go live and a plan for creating more.
- Images – Visuals are essential to make a website attractive and engaging. Consider stock images, original photography (if you have a budget for it), illustrations, and other visual elements that will make your website more engaging.
- Videos – Videos can be a great way to showcase your brand or explain complex concepts. If you decide to use video, make sure it’s well-produced and engaging.
The best way to go about content creation is by creating a plan that outlines what type of content your website needs and when it should be ready. Your web designer can help you with this step if needed. Some offer copywriting and/or content creation services as part of their package.

Phase 4: Design Prototype
Once you have the content in place (or even just enough of it), it’s time to design your website! This is where all the creative juices come into play. Your web designer will create a prototype of your website – usually in the form of a mockup or wireframe. This will give you a general idea of how the website will look without investing in full-on design work.

The prototype should include elements like:
- Layout – How the different pages will be laid out and where certain features/elements are placed.
- Colors – The main colors used throughout the website.
- Fonts – The main fonts used for the website.
- Style – The overall visual style and aesthetic of the website.
This is your opportunity to visualize how you want your website to look and make sure it’s in line with your goals. Once you’re happy with the prototype, phase 4 is complete!
Pro Tip: Take all the time to review the design prototype and give feedback to your web designer. This will ensure that you get exactly what you’re looking for in terms of design. Once you confirm the design, it’s much harder to make changes, especially if it’s in the development/build phase.
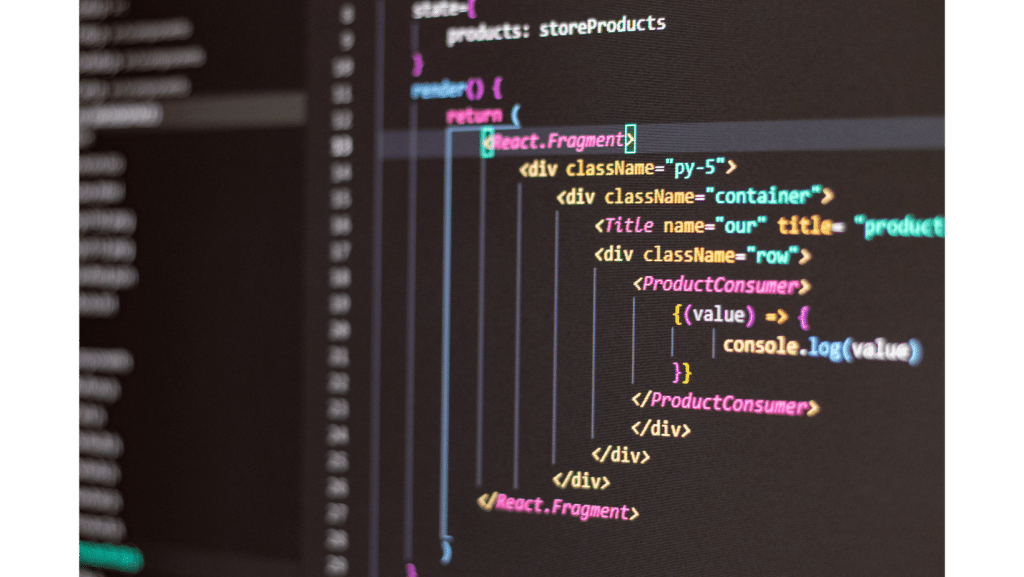
Phase 5: Development/Build
Now that you have your design prototype approved, it’s time to move into the development/build phase! This is where the real magic happens because your website will go from a flat image to an actual functioning website.
Your web designer will create the website and all its features based on the design prototype. This includes coding, integrating plugins, adding any custom functionality, setting up databases if needed, and more.
The development/build phase can take anywhere from a few weeks to several months, depending on the complexity of your website. During this time, it’s important that you stay in close contact with your web designer and provide feedback as needed.
Usually, what happens is that you’ll be hearing from your web designer on a regular basis with updates and questions. They may also send you screenshots of the progress they’ve made to get your feedback. This way, any issues can be fixed quickly, and the project can stay on track. Don’t expect to receive the website all at once – it’s a process that requires close collaboration.
Phase 6: QA & Testing
Once the website is developed, it’s time to make sure everything works as intended. Your web designer will test the website and its features to ensure that they work properly. This includes checking for bugs, making sure all the content displays correctly, and more.
In addition to the web designer’s testing, it’s also a good idea for you (or someone from your team) to review the website and check for any issues. This will help catch any small mistakes or oversights that may have been missed during development/build.

This phase is crucial because any issues can be fixed before launch, so don’t make your check a surface-level review. Look at all aspects of the website, from technical details to design elements, and make sure everything works as expected.
Here’s a checklist to help you out:
- Make sure all the links work and redirect to the right pages
- Check that all forms are working properly
- Verify that images and videos display correctly
- Confirm that text is legible, no matter the size or device used
- Ensure any custom features/functionality works as intended
- If there’s a shop, make sure the checkout process works
- Double-check that all content is up to date
- Test if the website is optimized for mobile/tablet devices
Once everything is working as expected, you can move on to phase 7–the final step!
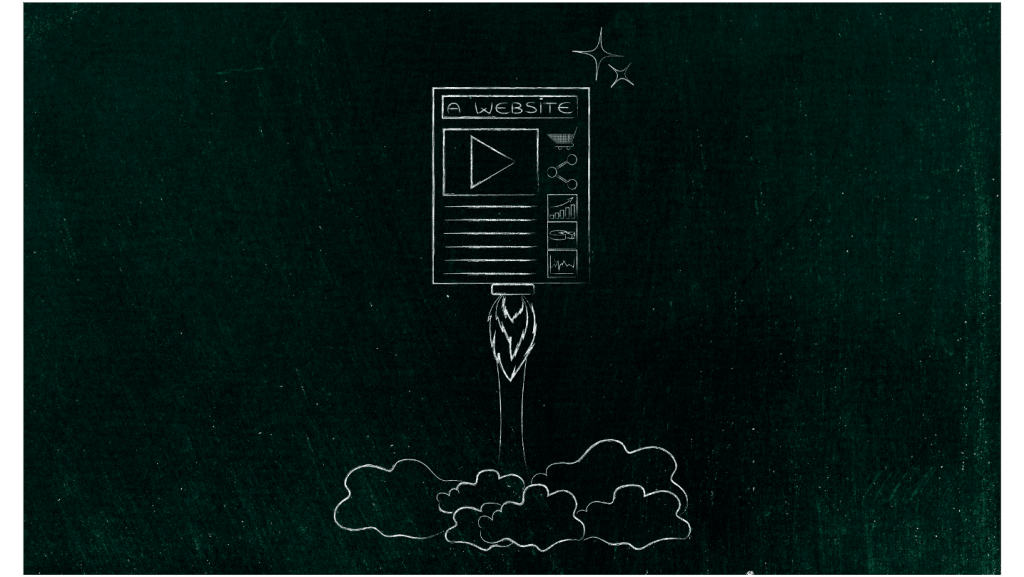
Phase 7: Launch
The difference between this phase and the previous one is that this is where your site is officially launched and goes live for the world to see. This is the most exciting part of the process because you get to share your website with everyone.
Before launching, make sure you have all the content ready and up-to-date, as well as any other elements that may be needed for launch (like setting up analytics settings, SEO optimization, etc.). Also, keep in mind that launching your website doesn’t mean it’s completely done and perfect–there will always be more optimizations, changes, and improvements to make.
Once you’re ready to launch, it’s time for the big moment! Your web designer will upload the files to the server and make any needed configurations. After all that is set up correctly, you’ll be able to access your website in the browser and show it off to the world. And with that, you’re done!
Congratulations–You’ve Created a Beautiful Website!
Does it all make sense now? At first glance, the website creation process may seem intimidating and overwhelming, but if you break it down into its individual phases and go step-by-step, you’ll see that you’ll be able to create a beautiful website in no time.
The key is to understand each phase and know what your web designer needs from you for each one. Staying in close contact and providing feedback as needed will ensure the project runs smoothly, and you’ll be able to launch your website with confidence.
At ShiftWeb, as much as we focus on the outcome of the project, we put just as much emphasis on the process. That’s why our team of experienced web professionals is here to help you every step of the way, from goal and scope identification to launch day.
Ready to get started? Contact us today for more information about how we can help create your dream website. We look forward to working with you!


